MARSHALL NUGENT
Our latest Shoot together. We were shoot at the South End of Wrightsville beach and a super nice Lady asked us if we wanted to shoot on her property and on her private dock. She had this really nice Palm tree at the entrance of her Dock. Had to grab some photo with it.
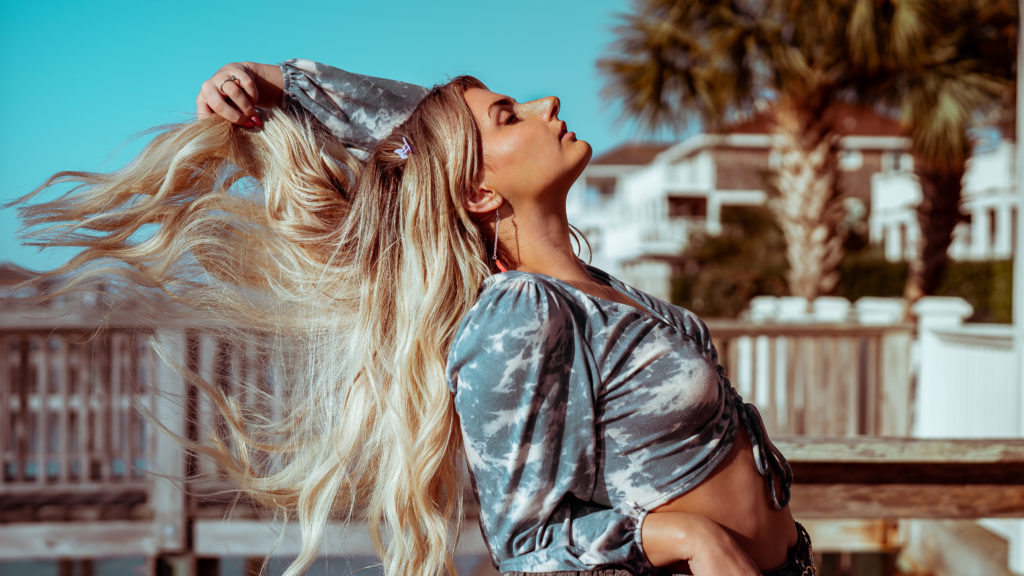

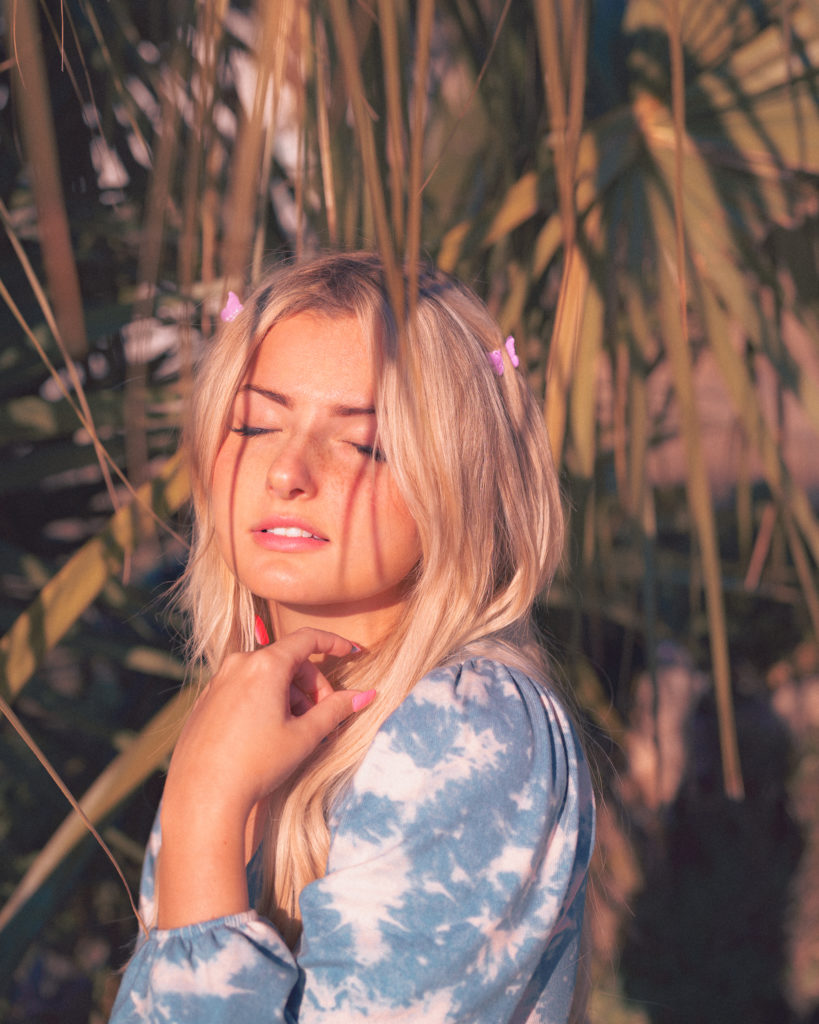
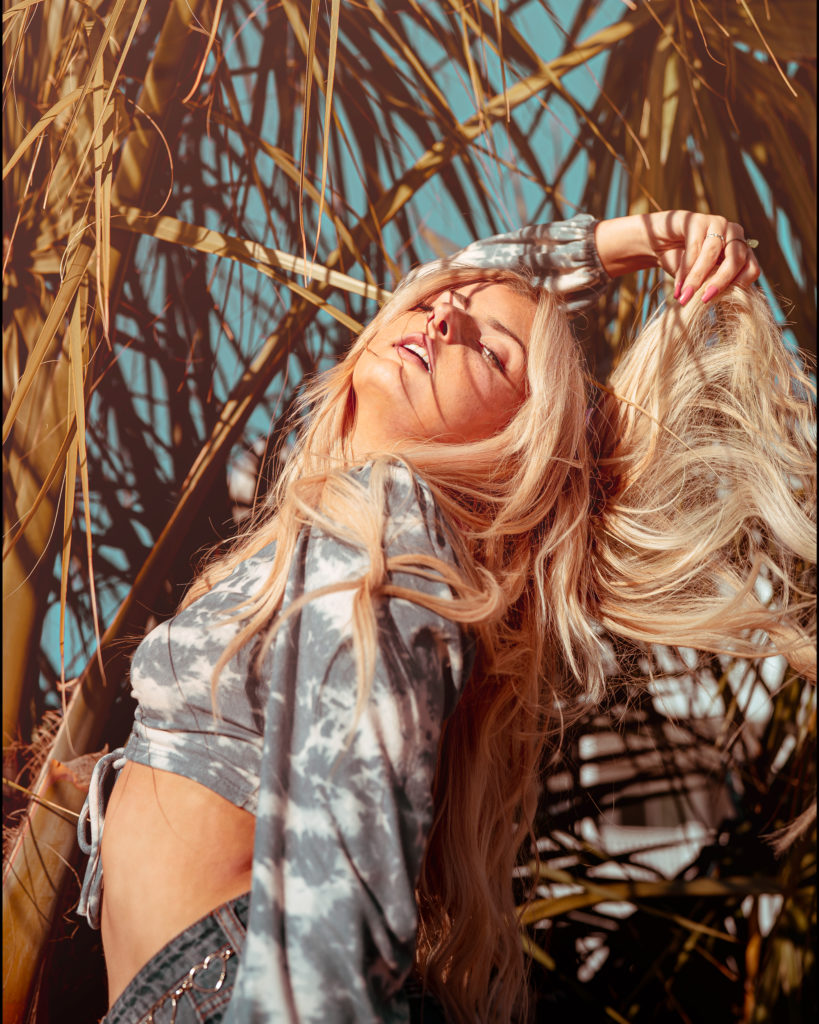
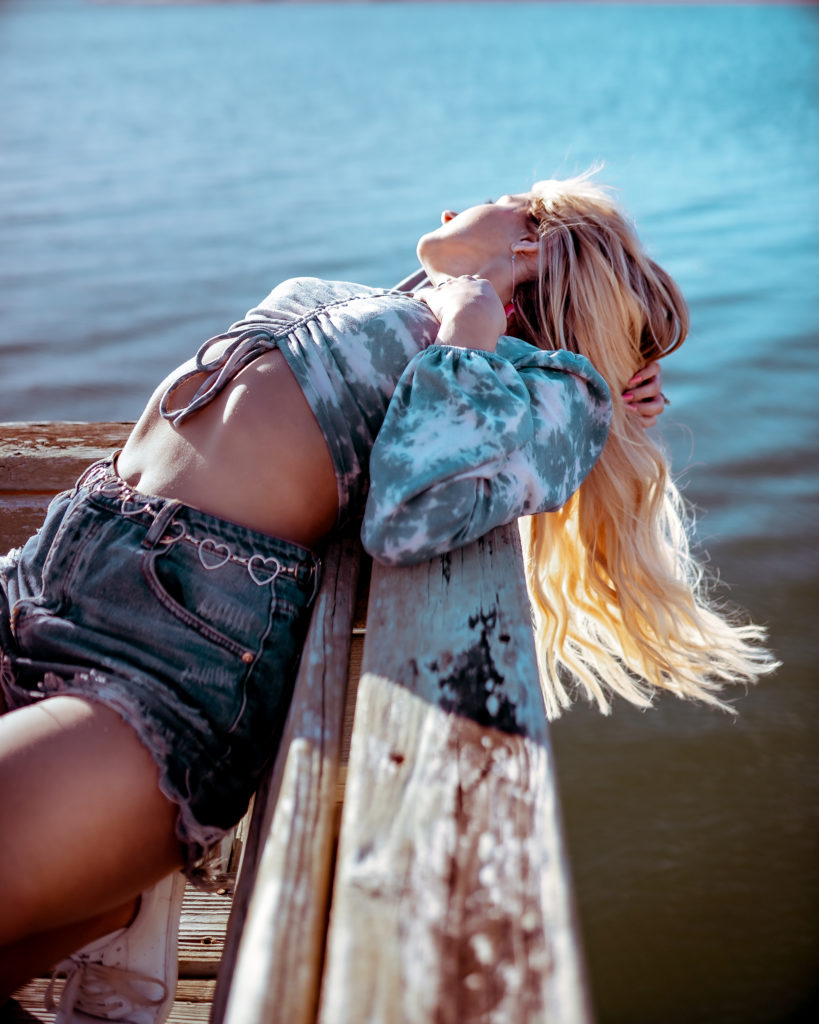

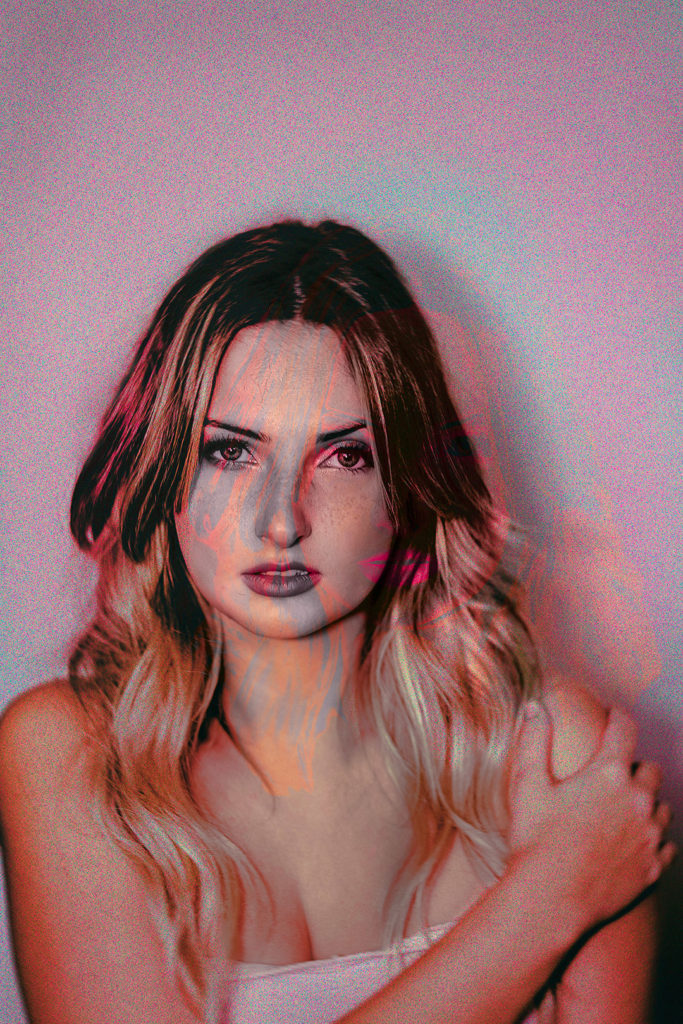
I wanted to try something new with my edit by adding additional effects to the image.

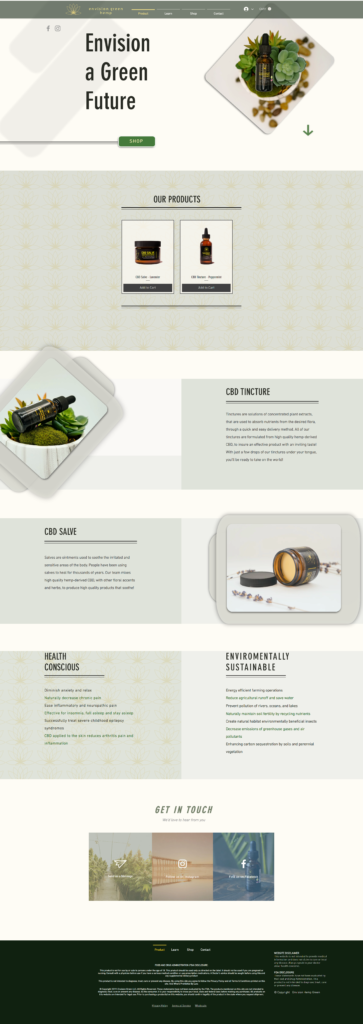
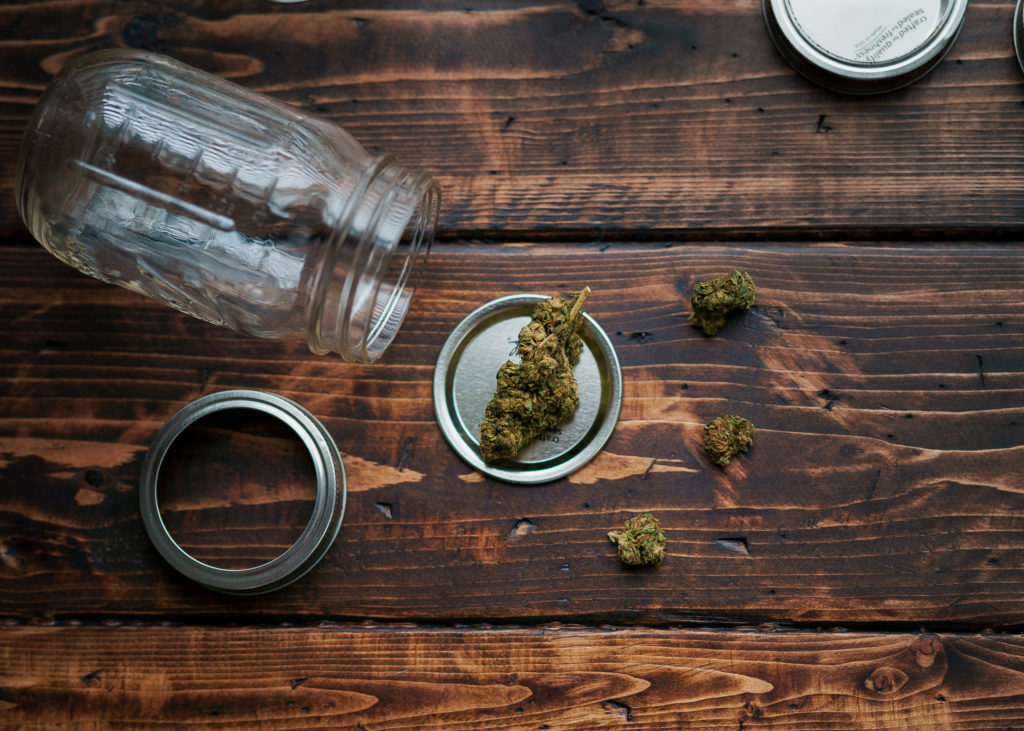
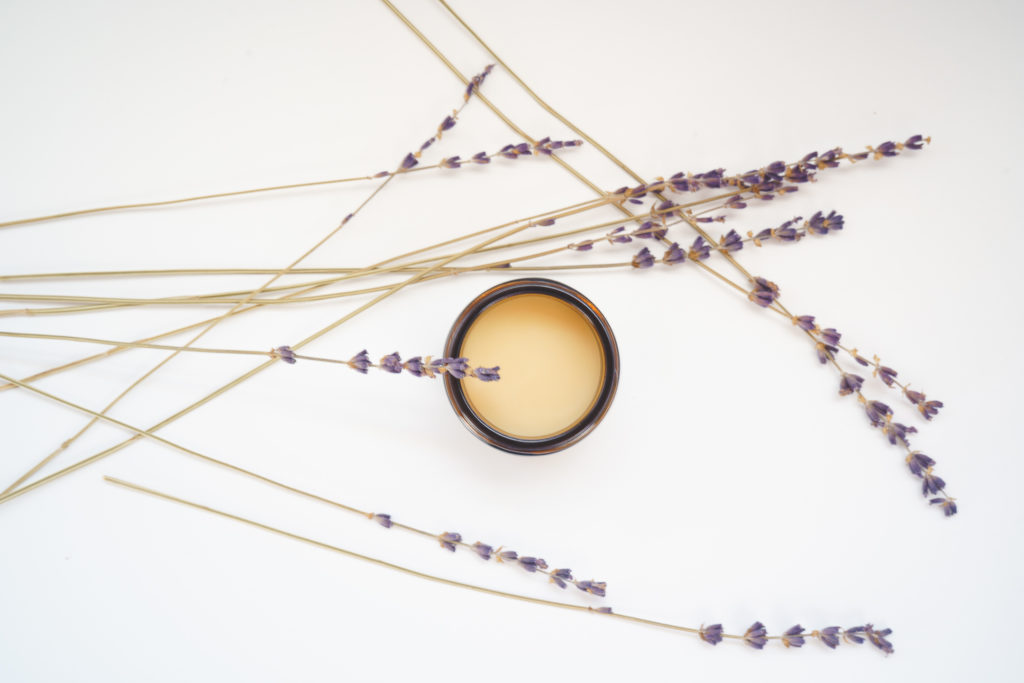
Working with Envision Green Hemp to launched their initial website. I was commissioned to Design, Develop, and provide Product Photography for the website envisiongreenhemp.com. This was an awesome experience to work with a CBD brand. They have been able to increase their sales and get more exposure for their products using the Product photography. Go to Nugentmultimedia.com to see what services I am currently offering.
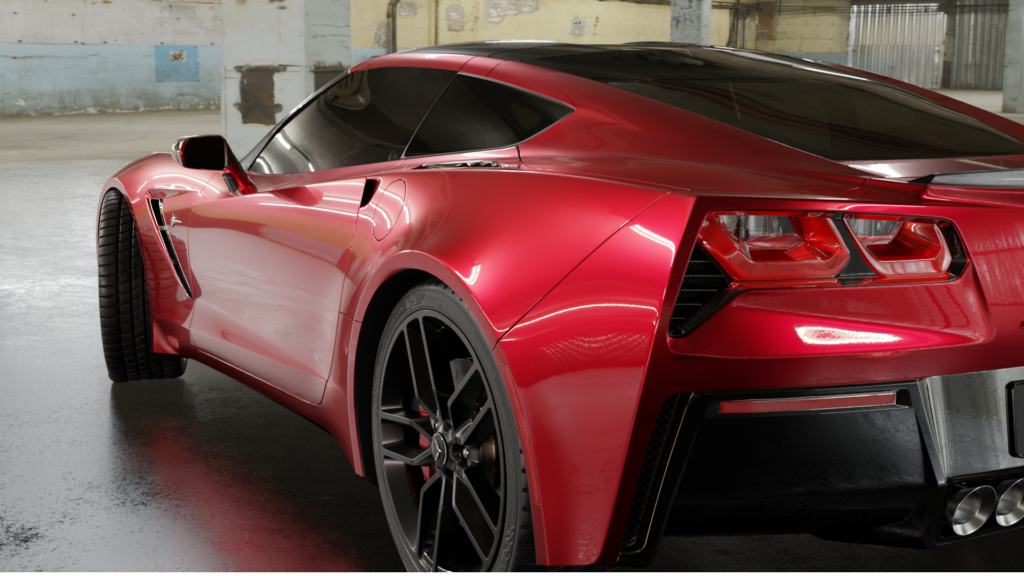
Inspired by artist's like Ash Thorp, Khyzyl Saleem, Brad Builds, I created my own model on the Corvette Model I created in my previous post. This project was my favorite project to date. I learned so much about Blender as well as textures, UV mapping, Various Modifiers, and using a guide mesh in order to create perfect reflections in the paint. I used Rotiform WGR-M wheels for the wheels on the car. Looking forward to working more with Blender.
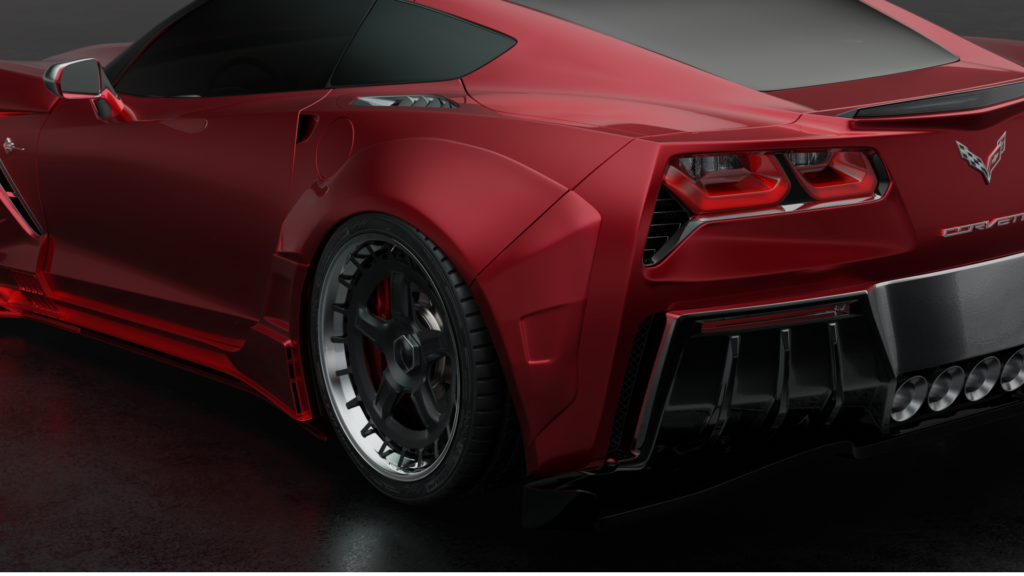
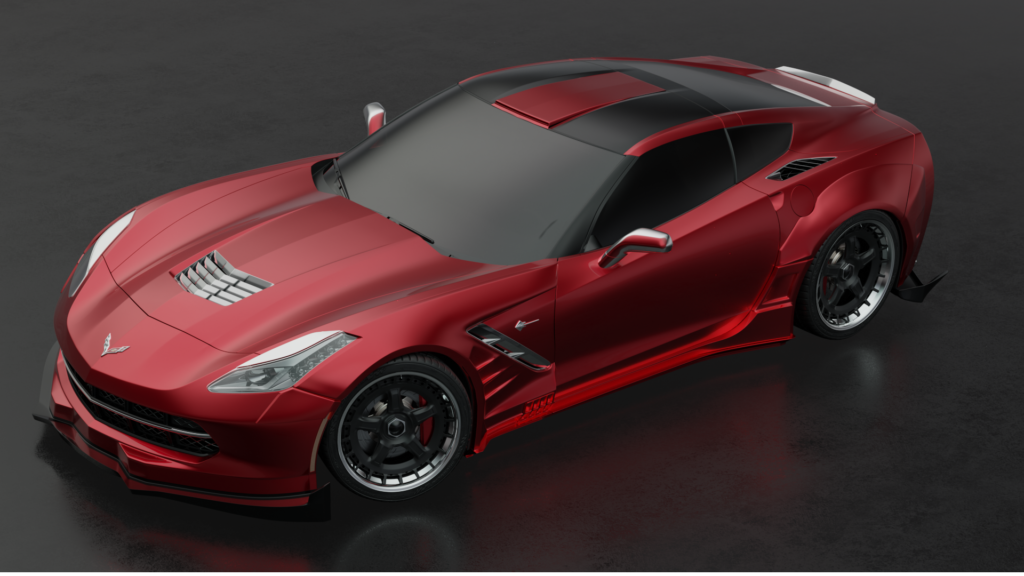
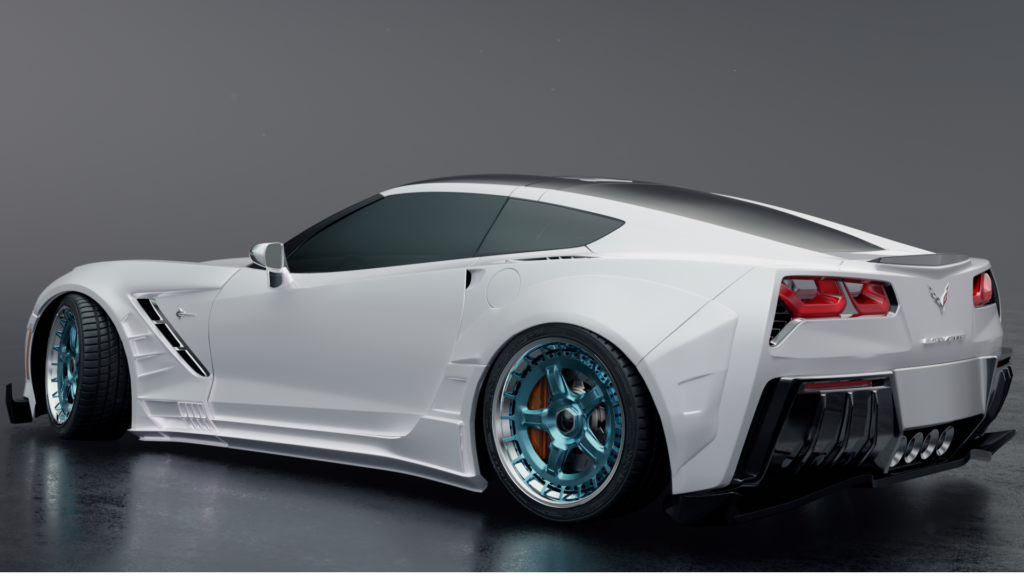
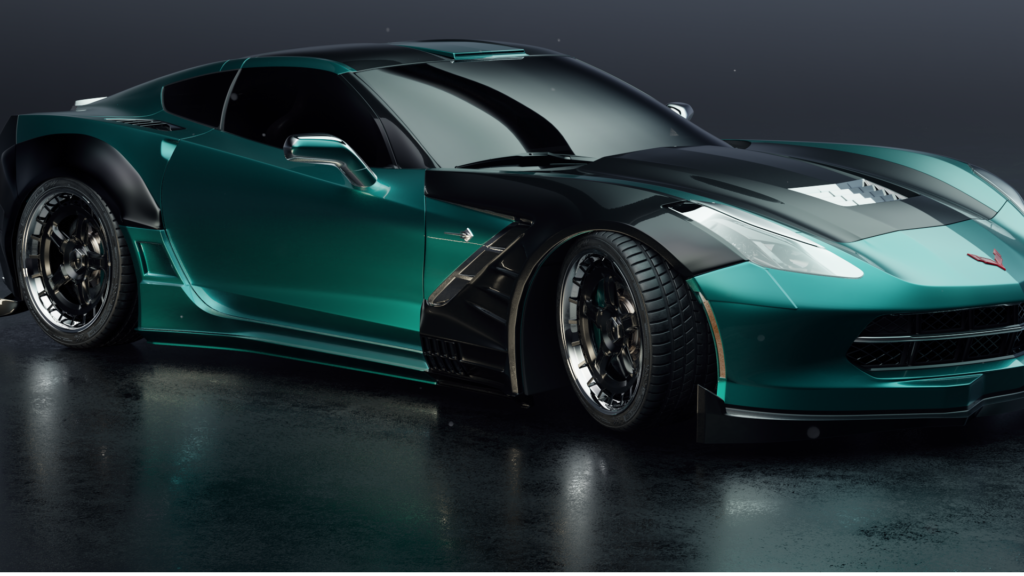
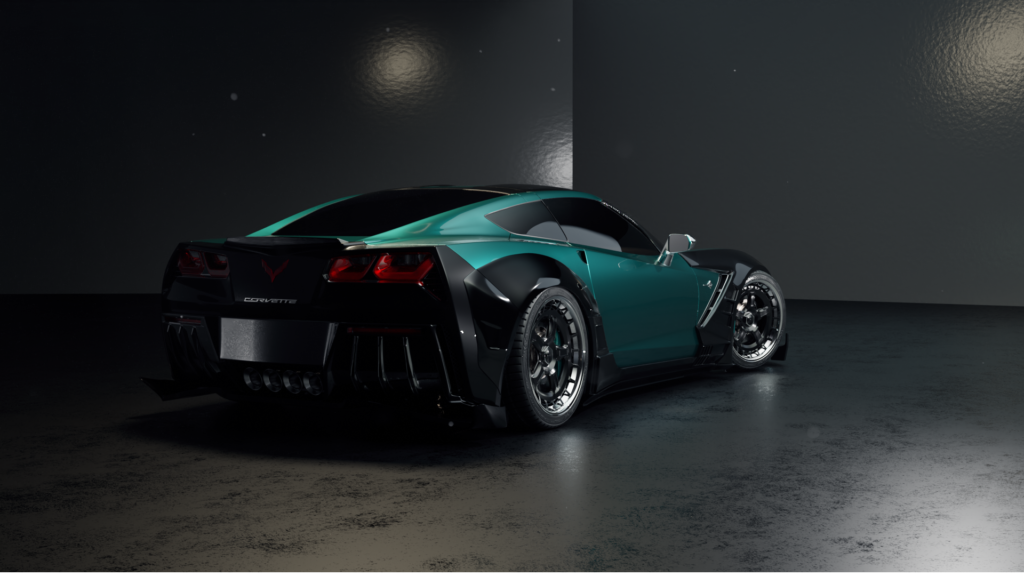
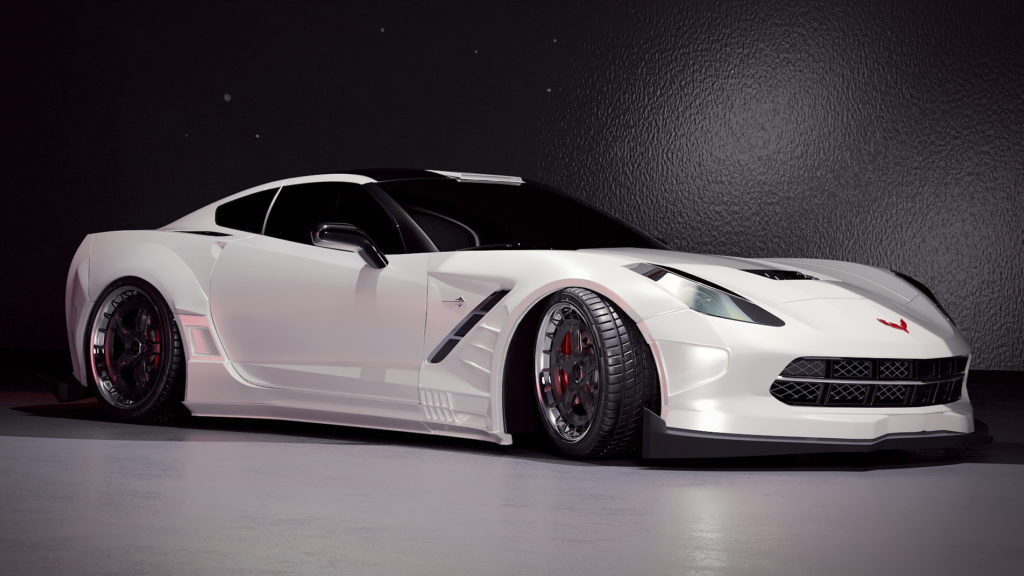
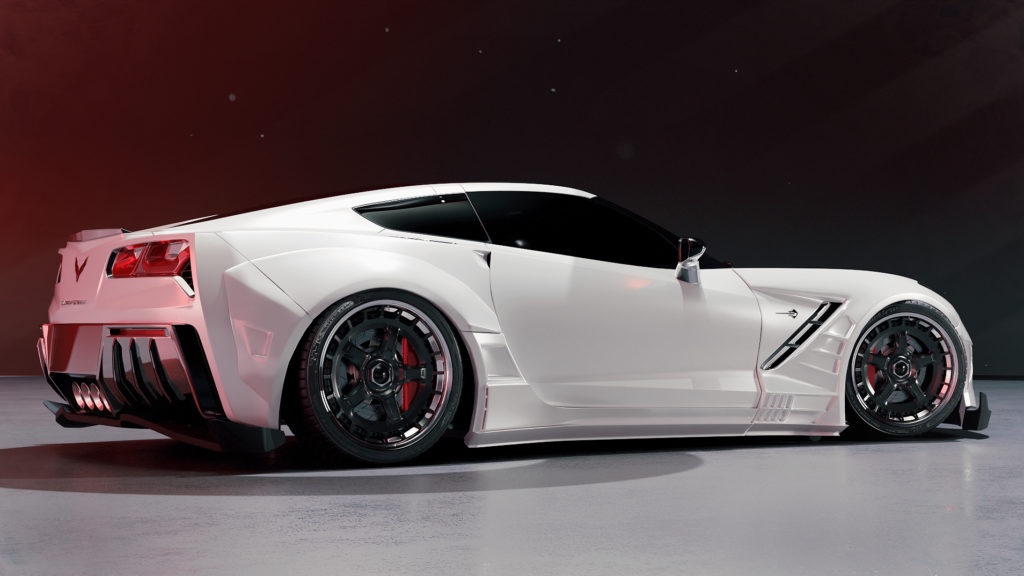
This is my latest 3D model created in Blender. I have always been interested in Cars and wanted to learn how to model my own. I came across CG Masters.net and their Corvette tutorial series. It took me about a month to learn how to model the car, stage it, and texture the model. Its requires an intermediate skill level to model. If you think you are up for the challenge I highly recommend it. This is the model I produced from the 30+ hours of tutorials in the course.


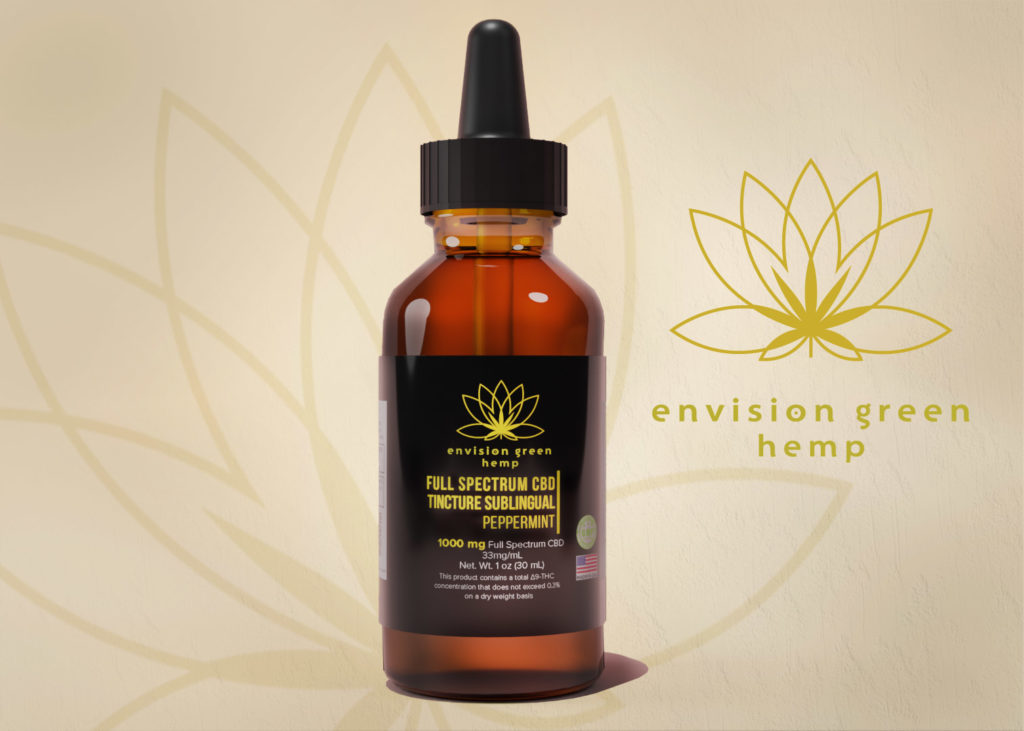
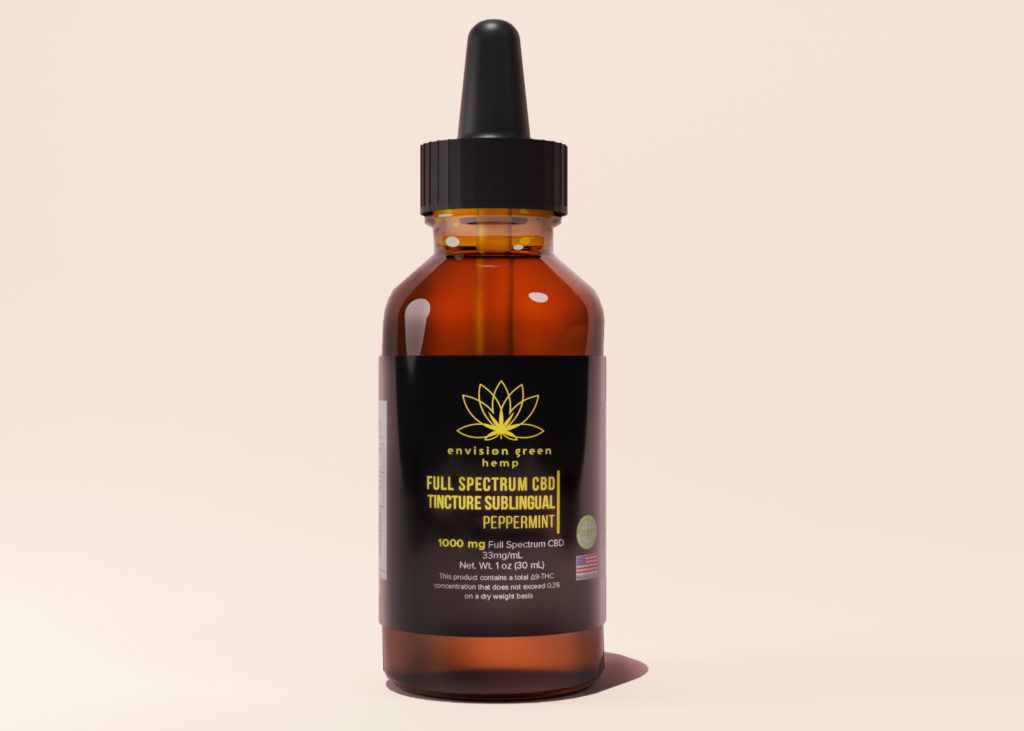
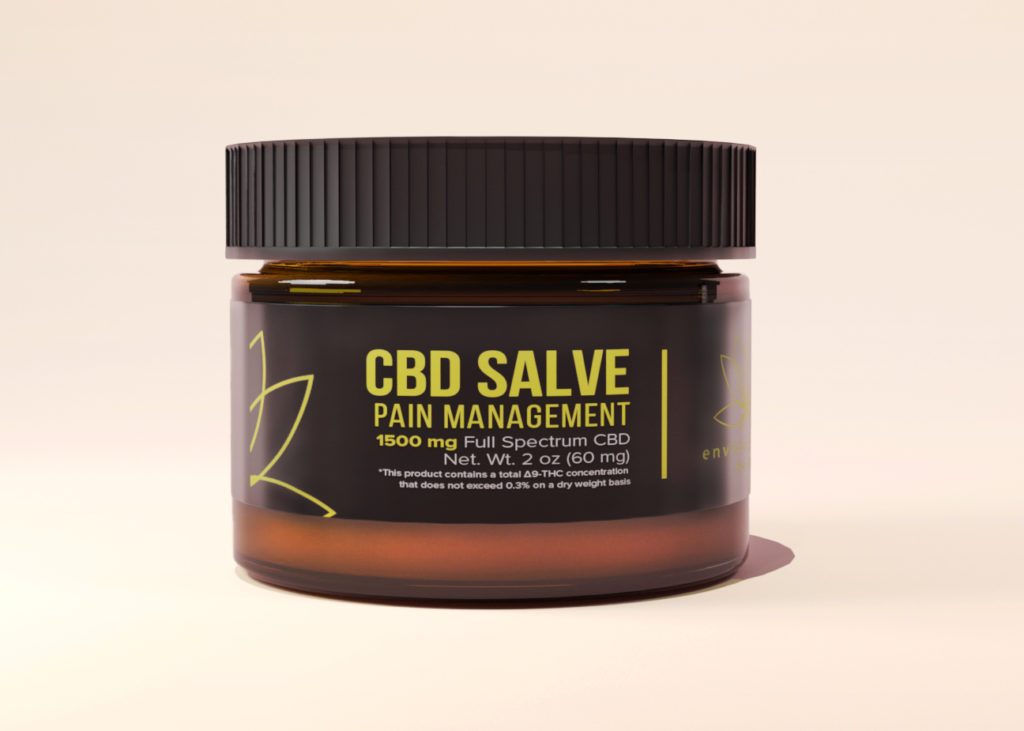
My client Envision Green Hemp reached out for product photography. Below are some of my favorite shots.
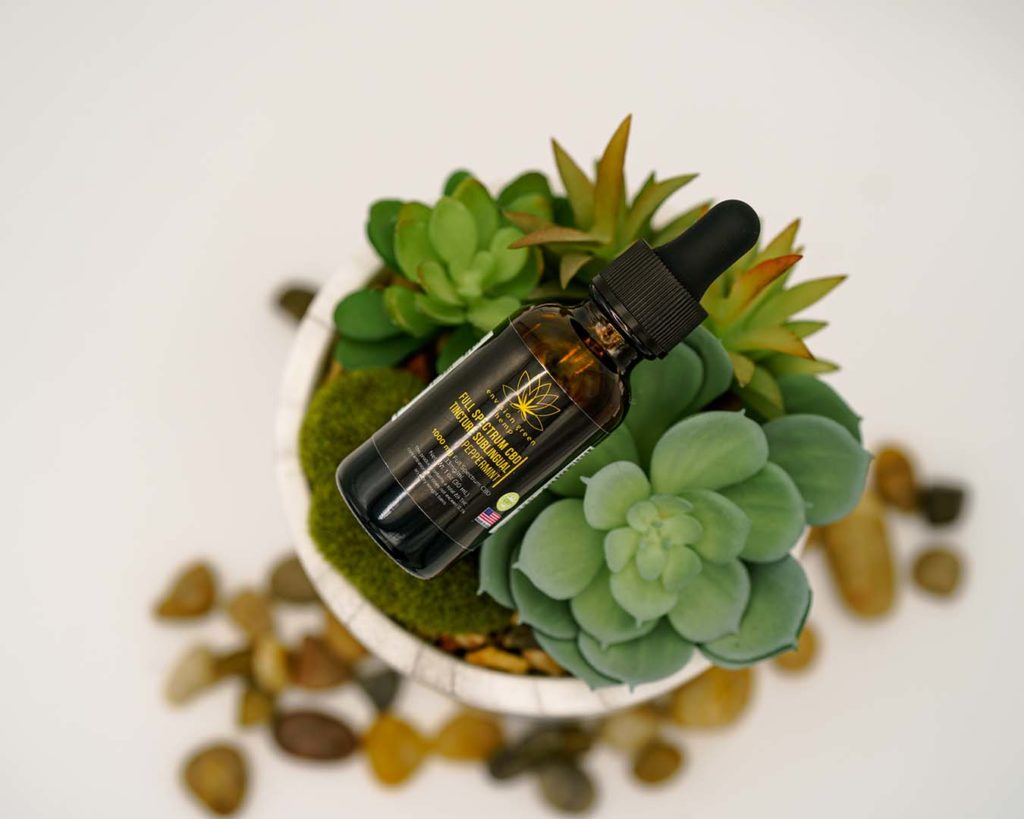

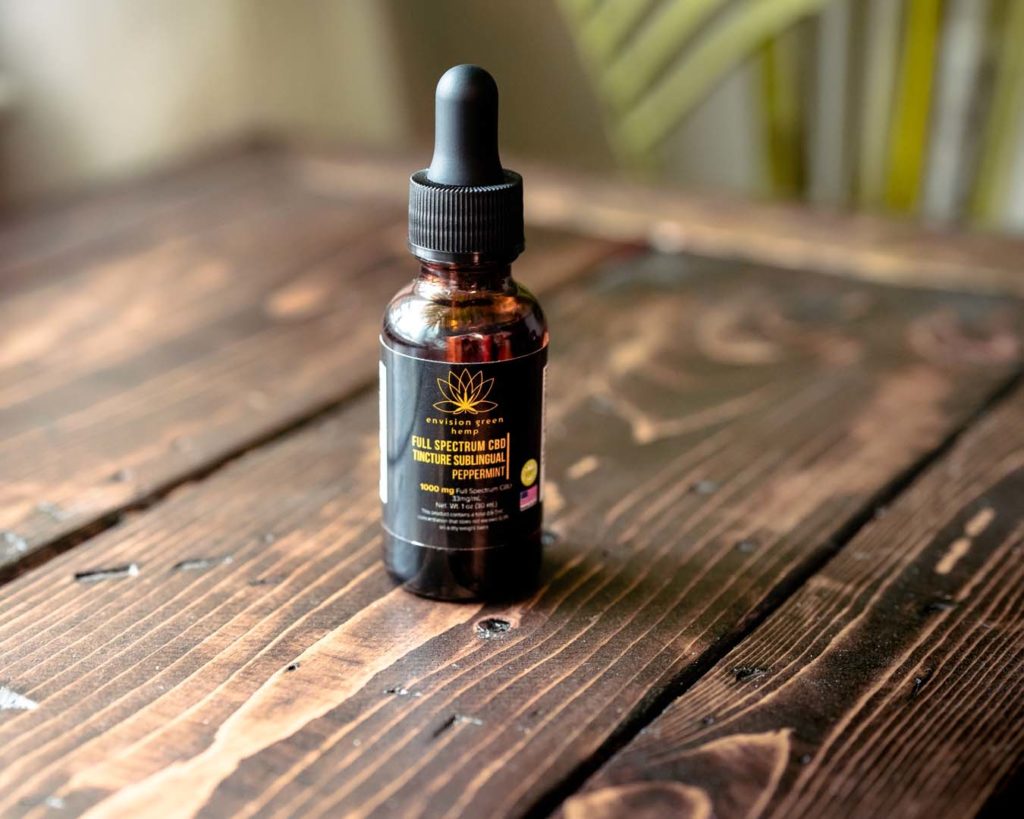
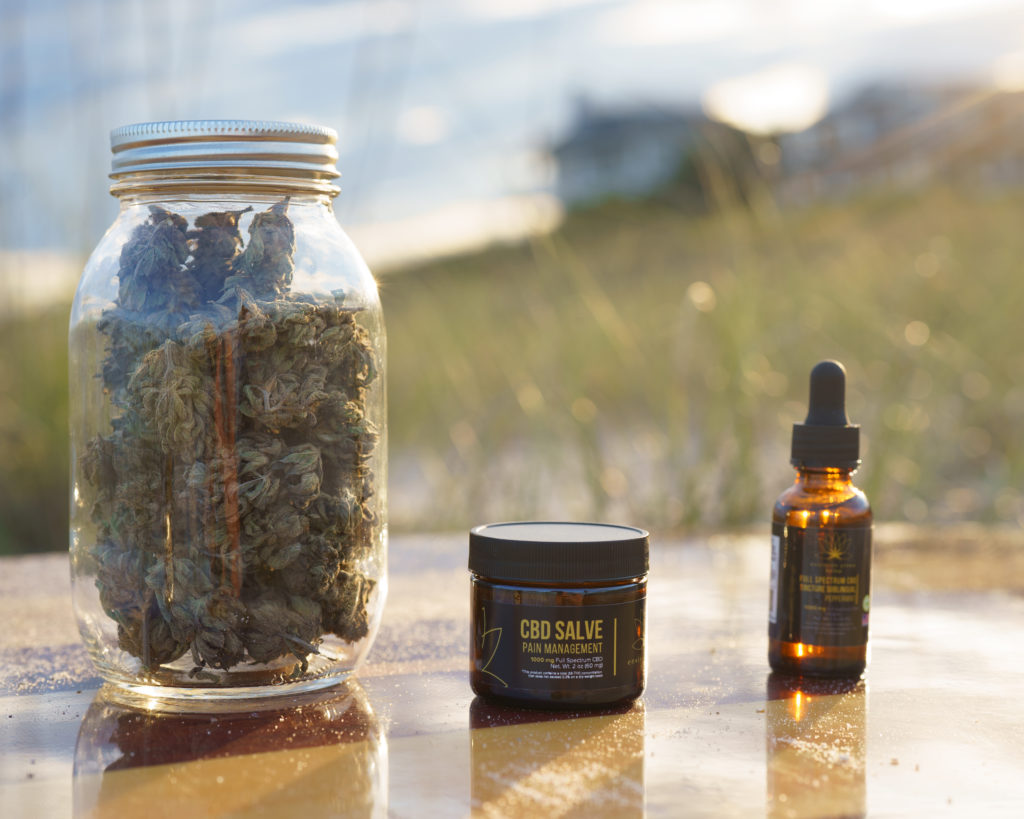

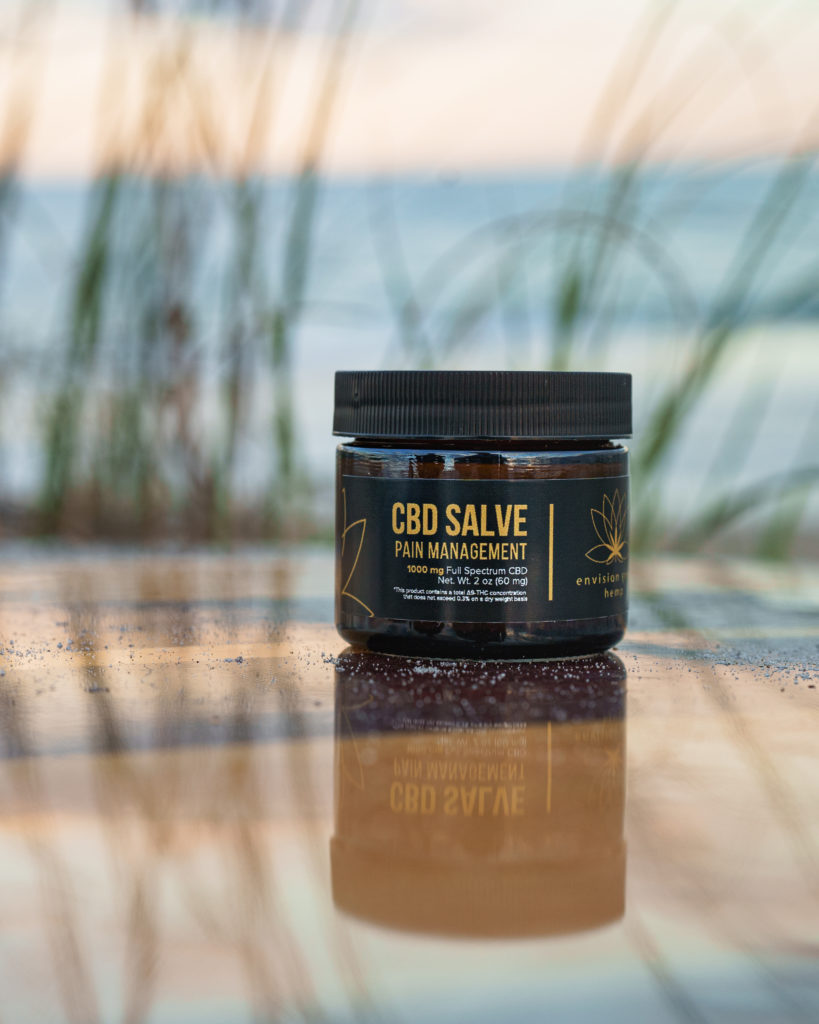
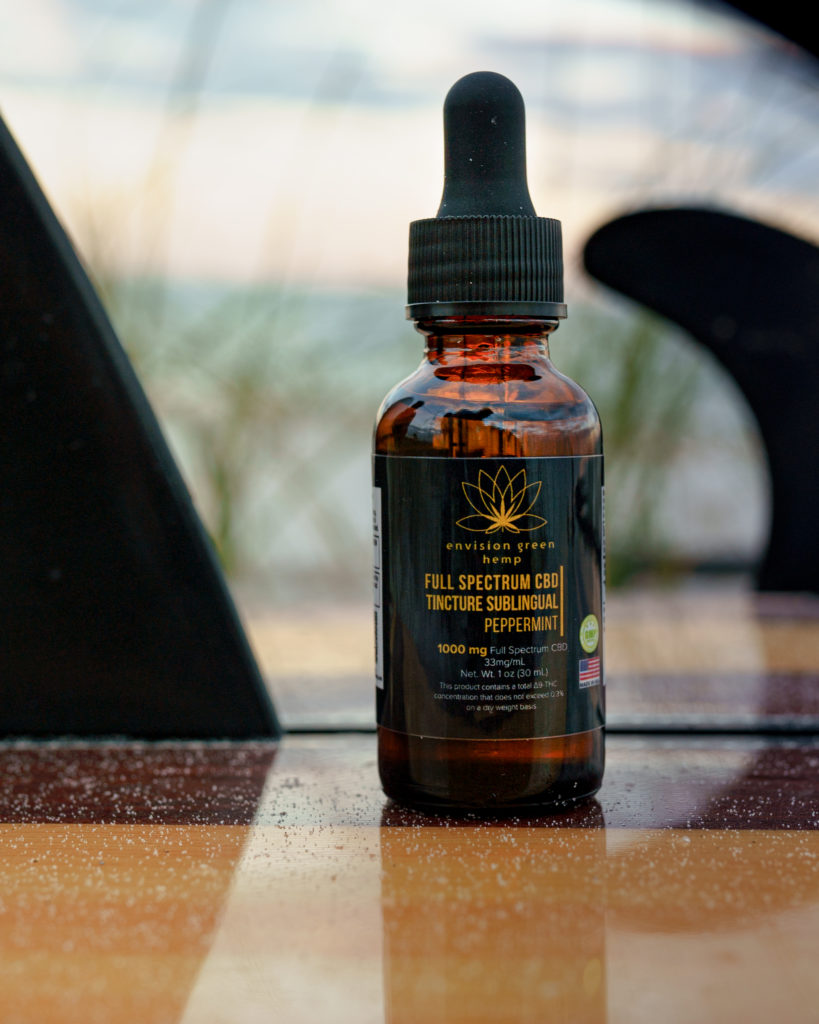
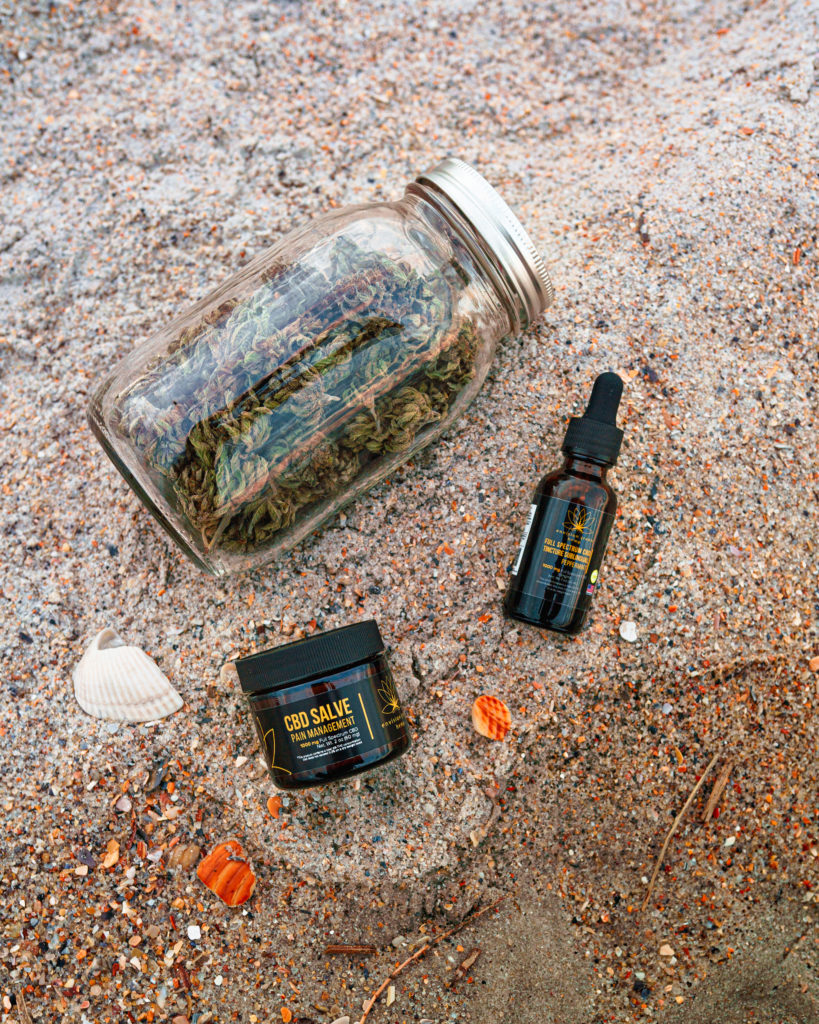
This was my first project after starting my LLC Nugent Multimedia. My client Envision Green Hemp needed product shots for their storefront. I created for them a tincture bottle and a salve container for the current CBD products they offer. During my research I found a tutorial from Derek Elliot showing a way to create and stage tincture bottles using Blender. You can find the video here, if you are interested in creating a similar model of your own. I also learned how to UV map Envision Green Hemps product label onto the bottle and container in order to create the 3d mockups of the products.
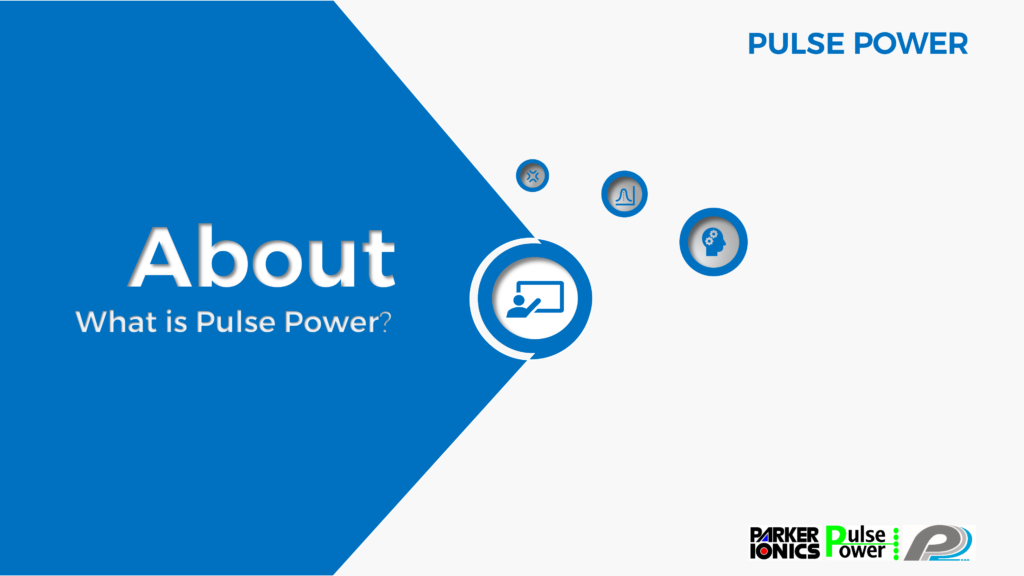
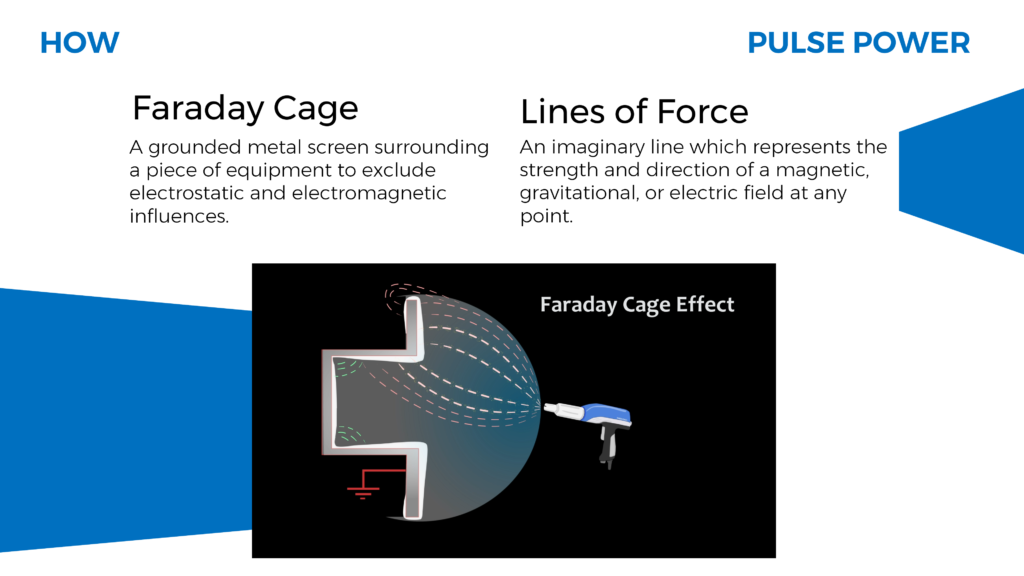
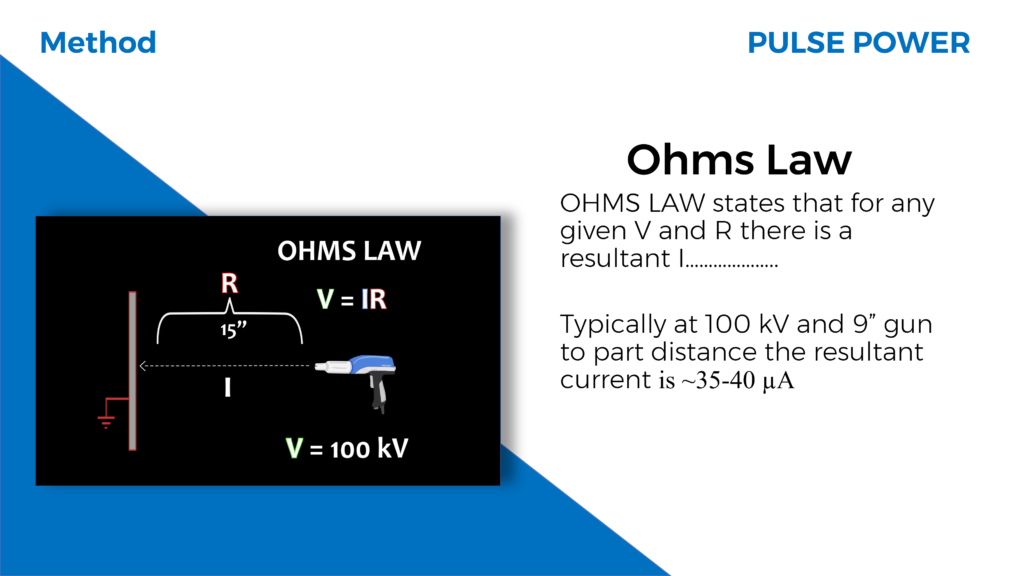
To expand my project and professional experience further, I decided to develop a PowerPoint presentation for Parker Ionics. Knowing the company used PowerPoint for most of their presentations, I decided to use what I researched from their original presentation slides and make my own dynamic version. Going over their slides for the first time, the content was hard for the average customer to understand. To make it easier to digest, the diagrams could be switched out for animated ones that I had already created. Each animation was created in their own pre-composition in After Effects. Precomposing is the process of packaging a series of layers into a new composition in After Effects. By grouping these layers together you can add animation, effects, or masks that will then be applied to all of the layers within[4].This made it easy for me to render each diagram individually and place them into my slides in a universal video format. Much like the transitions you can create in After Effects, you are able to add transitions and animations to individual slides in PowerPoint. While researching new updates to PowerPoint 2020, I came across a tutorial by The Office Lab [5], on how to create a morph animated 3D carousel. The tutorial taught me how the morph function works and an interesting way to layer shapes in a slide to create an interface that has motion. I used this to structure the overall layout and design theme. There are six circles in the carousel, each circle acting as an individual section that the presenter navigates through. The sections are, About, How, Methods, Results, Product, and Conclusion. When navigating through the presentation, the section being presented next will be emphasized with a title and short description. The following slides will be zoomed into using the zoom function in PowerPoint previously stated. After viewing the content within that section, it will zoom out to the carousal that displays the remaining sections to cover.
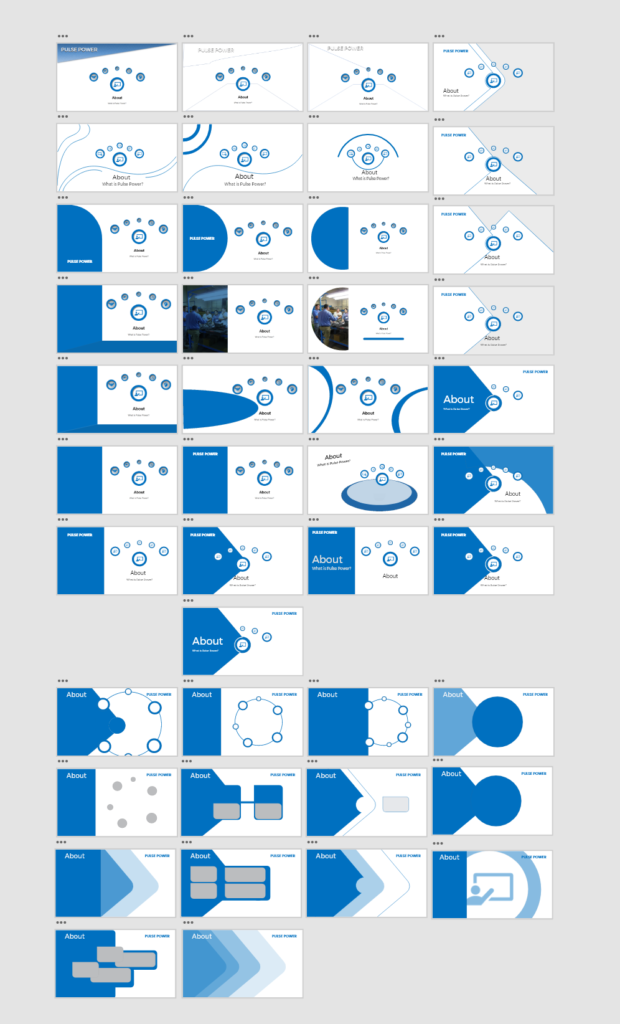
The design of my presentation required more attention than I had initially planned for. Consistency with the theme, type, grid-layout, and the placement of items were researched to add value to the presentation and optimize the viewing experience. According to the principle of consistency, systems are more usable and learnable when similar parts are expressed in similar ways. Consistency enables people to efficiently transfer knowledge to new contexts, learn new things quickly, and focus attention on the relevant aspects of a task [9]. The placement of elements in a way that controls how the viewer’s eye will move from image to text and travel around a design composition needed to be considered. The type needs to be organized and assigned a hierarchical role, so the viewer is led through a design composition in a way that supports the message’s intent and its ability to be understood. This allows the viewer to take in all of the design’s visual information [7]. To help with readability of my slides, the amount of words per line had to be considered. According to a well-known empirical rule there should be 7 words per line for a text of any length [6]. With these principles in mind, the design became more organized, consistent, and increased readability, and improved the emphasis of the material.
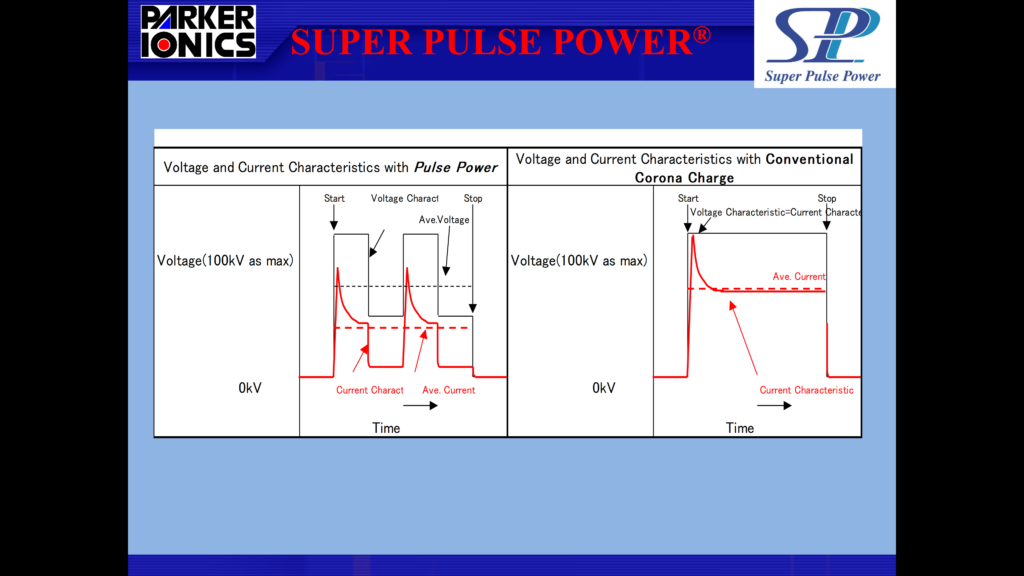

Figure 7 and 8 show a comparison of my design with Parker Ionics. Figure 7 is a slide in the presentation I was given by Parker Ionics to learn what their products were about. Figure 8 is my interpretation of the slide. It includes a description of what Modulation is and an animated video of the graph in figure 7.
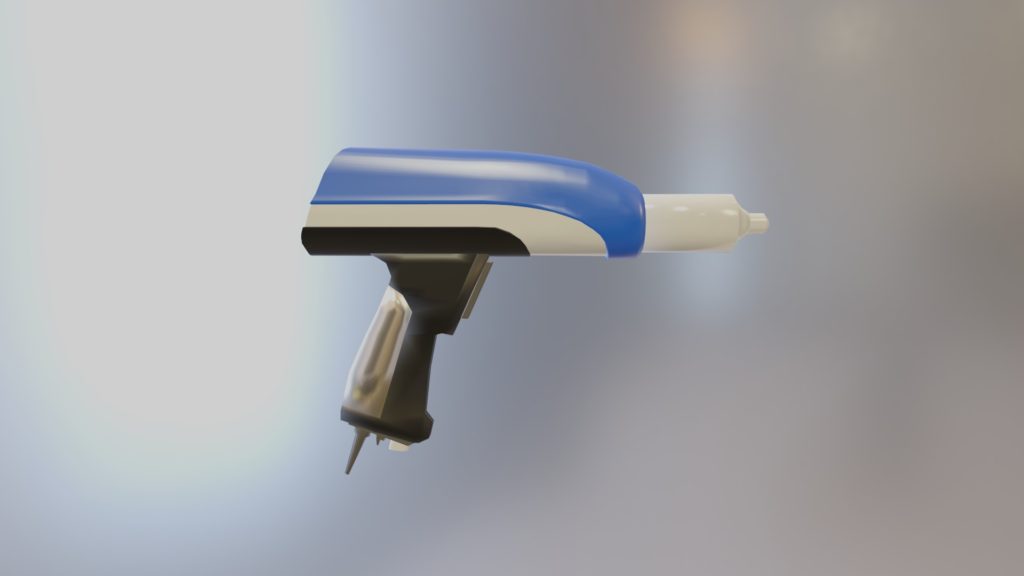
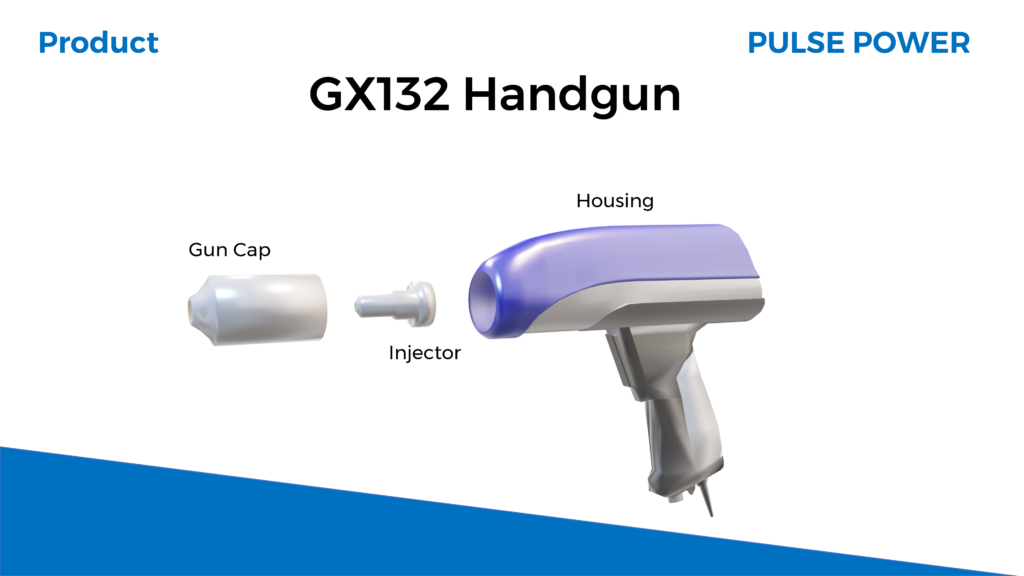
In prior Digital Arts classes, I had experience working in the software from Autodesk known as Maya. Maya is an industry leader for 3D modelling and animation. Although I was familiar with the program, I wanted to challenge myself and use the free and open source software Blender. The main reason for choosing Blender over Maya was the price. Knowing that I will be graduating soon and my free student membership will come to an end, I wanted to get a head start learning a free 3D software option like Blender. In the beginning, learning new software was a daunting task. With the help of YouTube videos and the website CG Boost, I was able to relearn the fundamentals in a short amount of time. I looked up images that showed the Parker Ionics powder coating gun as a side profile view, which I used as a background template to construct the model. I also found images of individual parts within the gun so I could demonstrate a breakdown of the components. I modeled the gun housing, gun cap, and injector, then spent the remainder of the project refining the gun to make it as accurate to the actual product as I could while using low quality images to build from. While creating the gun, I ran into some challenges. The main challenge I faced was modeling the curvature of the gun. When making the curves it would create ngons and triangles in the mesh. A triangle is 3 sides or edges connected by 3 vertices. A ngon is a face or polygon that is made up of five or more sides or edges connected by five or more vertices. The extra vertices and edges in the mesh cause defects in the model that would not occur if the model were made up of quads. To fix the problem, I had to use modifiers to reconstruct the mesh, making the surface smooth when rendered with shaders and textures applied. After the model and its renders were completed, I was able to add them to my PowerPoint presentation.